# 什么是VuePress
官网: https://vuepress.vuejs.org/zh/
VuePress 由两部分组成:第一部分是一个极简静态网站生成器,它包含由 Vue 驱动的主题系统和插件 API,另一个部分是为书写技术文档而优化的默认主题,它的诞生初衷是为了支持 Vue 及其子项目的文档需求。

# 快速上手
前提条件
VuePress 需要 Node.js (opens new window)>= 8.6,安装nodejs省略。
本文会帮助你从头搭建一个简单的 VuePress 文档。如果你想在一个现有项目中使用 VuePress 管理文档。
# 1.创建并进入一个新目录
mkdir vuepress-starter && cd vuepress-starter
# 2.使用你喜欢的包管理器进行初始化
yarn init # npm init
# 3.将 VuePress 安装为本地依赖
我们已经不再推荐全局安装 VuePress
yarn add -D vuepress # npm install -D vuepress
**注意:**如果你的现有项目依赖了 webpack 3.x,我们推荐使用 Yarn (opens new window)而不是 npm 来安装 VuePress。因为在这种情形下,npm 会生成错误的依赖树。
# 4.创建你的第一篇文档
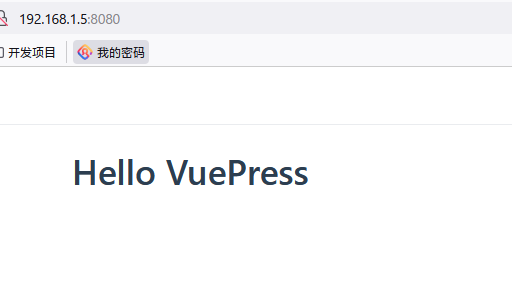
mkdir docs && echo '# Hello VuePress' > docs/README.md
# 5.配置package.json 文件
中添加一些 scripts https://classic.yarnpkg.com/zh-Hans/docs/package-json#toc-scripts
这一步骤是可选的,但我们推荐你完成它。在下文中,我们会默认这些 scripts 已经被添加。
{
  "scripts": {
    "docs:dev": "vuepress dev docs",
    "docs:build": "vuepress build docs"
  }
}
2
3
4
5
6
# 6.在本地启动服务器
yarn docs:dev # npm run docs:dev
VuePress 会在 http://localhost:8080 启动一个热重载的开发服务器。
浏览器中访问即可
# 默认的页面路由
此处我们把 docs 目录作为 targetDir,下面所有的“文件的相对路径”都是相对于 docs 目录的。在项目根目录下的 package.json 中添加 scripts :
{
  "scripts": {
    "dev": "vuepress dev docs",
    "build": "vuepress build docs"
  }
}
2
3
4
5
6
对于上述的目录结构,默认页面路由地址如下:
| 文件的相对路径 | 页面路由地址 |
|---|---|
/README.md | / |
/guide/README.md | /guide/ |
/config.md | /config.html |
# 基本配置
如果没有任何配置,这个网站将会是非常局限的,用户也无法在你的网站上自由导航。为了更好地自定义你的网站,让我们首先在你的文档目录下创建一个 .vuepress 目录,所有 VuePress 相关的文件都将会被放在这里。你的项目结构可能是这样:
.
├─ docs
│  ├─ README.md
│  └─ .vuepress
│     └─ config.js
└─ package.json

# mkdir docs/.vuepress
# touch docs/.vuepress/config.js
2
3
4
5
6
7
8
9
一个 VuePress 网站必要的配置文件是 .vuepress/config.js,它应该导出一个 JavaScript 对象:
module.exports = {
  title: 'Hello VuePress',
  description: 'Just playing around'
}
2
3
4
# 主题配置
一个 VuePress 主题应该负责整个网站的布局和交互细节。在 VuePress 中,目前自带了一个默认的主题(正是你现在所看到的),它是为技术文档而设计的。同时,默认主题提供了一些选项,让你可以去自定义导航栏(navbar)、 侧边栏(sidebar)和 首页(homepage) 等,详情请参见默认主题 (opens new window) https://vuepress.vuejs.org/zh/theme/default-theme-config.html 。
# 首页
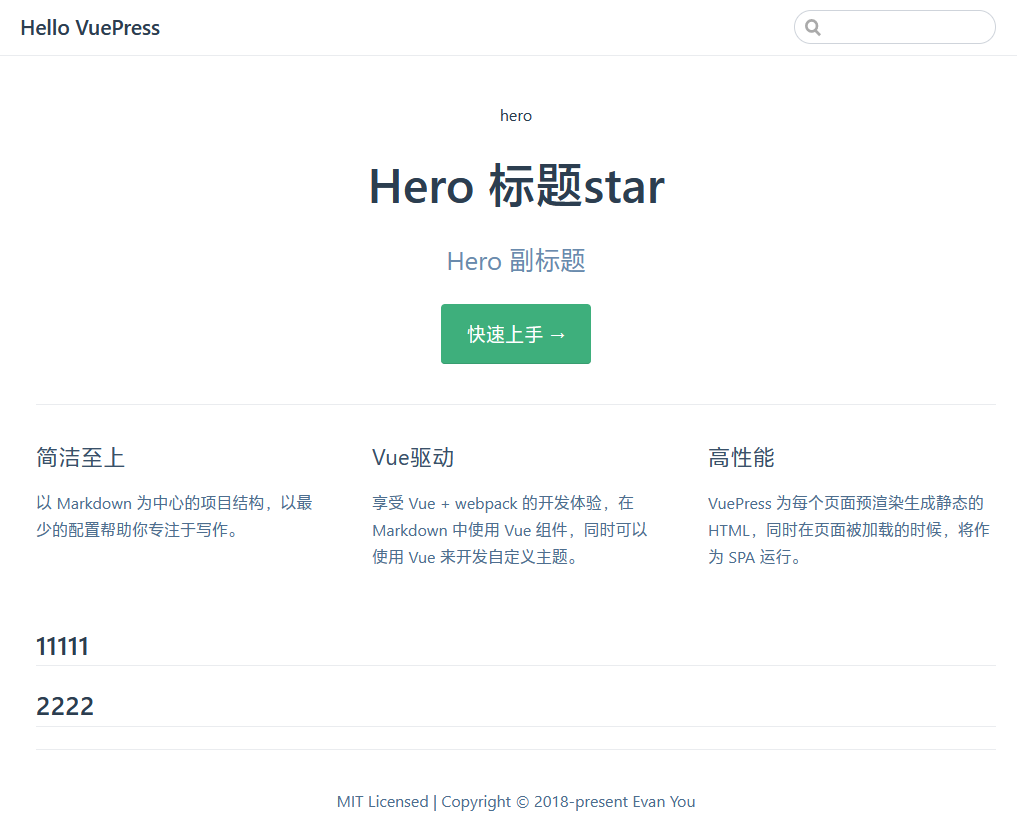
默认的主题提供了一个首页(Homepage)的布局 (用于 这个网站的主页)。想要使用它,需要在你的根级 README.md 的 YAML front matter 指定 home: true。以下是一个如何使用的例子:
vim docs/README.md
---
home: true
heroImage: /hero.png
heroText: Hero 标题
tagline: Hero 副标题
actionText: 快速上手 →
actionLink: /zh/guide/
features:
- title: 简洁至上
  details: 以 Markdown 为中心的项目结构,以最少的配置帮助你专注于写作。
- title: Vue驱动
  details: 享受 Vue + webpack 的开发体验,在 Markdown 中使用 Vue 组件,同时可以使用 Vue 来开发自定义主题。
- title: 高性能
  details: VuePress 为每个页面预渲染生成静态的 HTML,同时在页面被加载的时候,将作为 SPA 运行。
footer: MIT Licensed | Copyright © 2018-present Evan You
---
2
3
4
5
6
7
8
9
10
11
12
13
14
15
16
17
# 富文本 footer
你还可以使用 Markdown Slot Syntax 来设置 footer,以支持富文本:
---
home: true
---

::: slot footer
MIT Licensed | Copyright © 2018-present [Evan You](https://github.com/yyx990803)
:::
2
3
4
5
6
7
# 导航栏
导航栏可能包含你的页面标题、搜索框、 导航栏链接、多语言切换、仓库链接,它们均取决于你的配置。
# 搜索框
你可以通过设置 themeConfig.search: false 来禁用默认的搜索框,或是通过 themeConfig.searchMaxSuggestions 来调整默认搜索框显示的搜索结果数量:
// .vuepress/config.js
module.exports = {
  themeConfig: {
    search: false,
    searchMaxSuggestions: 10
  }
}
2
3
4
5
6
7
# 导航栏链接
你可以通过 themeConfig.nav 增加一些导航栏链接:
// .vuepress/config.js
module.exports = {
  themeConfig: {
    nav: [
      { text: 'Home', link: '/' },
      { text: 'Guide', link: '/guide/' },
      { text: 'External', link: 'https://google.com' },
    ]
  }
}
2
3
4
5
6
7
8
9
10
此外,你还可以通过嵌套的 items 来在 下拉列表 中设置分组:
// .vuepress/config.js
module.exports = {
  themeConfig: {
    nav: [
      {
        text: 'Languages',
        items: [
          { text: 'Group1', link: '/language/chinese/' },
          { text: 'Group2', link: '/language/japanese/' }
        ]
      }
    ]
  }
}
2
3
4
5
6
7
8
9
10
11
12
13
14
# 禁用导航栏
你可以使用 themeConfig.navbar 来禁用所有页面的导航栏:
// .vuepress/config.js
module.exports = {
  themeConfig: {
    navbar: false
  }
}
2
3
4
5
6
你也可以通过 YAML front matter 来禁用某个指定页面的导航栏:
---
navbar: false
---
2
3
# 侧边栏
想要使 侧边栏(Sidebar)生效,需要配置 themeConfig.sidebar,基本的配置,需要一个包含了多个链接的数组:
// .vuepress/config.js
module.exports = {
  themeConfig: {
    sidebar: [
      '/',
      '/page-a/',
      ['/page-b/', 'Explicit link text']
    ]
  }
}
2
3
4
5
6
7
8
9
10
官方文档好像有错误,['/page-b', 'Explicit link text'] 后面应该为 ['/page-b/', 'Explicit link text'],否则会报错**[vuepress] No matching page found for sidebar item "/page-b"**
你可以省略 .md 拓展名,同时以 / 结尾的路径将会被视为 */README.md,这个链接的文字将会被自动获取到(无论你是声明为页面的第一个 header,还是明确地在 YAML front matter 中指定页面的标题)。如果你想要显示地指定链接的文字,使用一个格式为 [link, text] 的数组。
# 禁用侧边栏
你可以通过 YAML front matter 来禁用指定页面的侧边栏:
---
sidebar: false
---
2
3
# 搜索框
# 内置搜索
你可以通过设置 themeConfig.search: false 来禁用默认的搜索框,或是通过 themeConfig.searchMaxSuggestions 来调整默认搜索框显示的搜索结果数量:
// .vuepress/config.js
module.exports = {
  themeConfig: {
    search: false,
    searchMaxSuggestions: 10
  }
}
2
3
4
5
6
7
你可以通过在页面的 frontmatter 中设置 tags (opens new window) 来优化搜索结果:
---
tags:
  - 配置
  - 主题
  - 索引
---
2
3
4
5
6
你可以通过在页面的 frontmatter 中设置 search (opens new window) 来对单独的页面禁用内置的搜索框:
---
search: false
---
2
3
提示
内置搜索只会为页面的标题、h2 、 h3 以及 tags 构建搜索索引。 如果你需要全文搜索,你可以使用 Algolia 搜索 (opens new window)。
# 最后更新时间
你可以通过 themeConfig.lastUpdated 选项来获取每个文件最后一次 git 提交的 UNIX 时间戳(ms),同时它将以合适的日期格式显示在每一页的底部:
// .vuepress/config.js
module.exports = {
  themeConfig: {
    lastUpdated: 'Last Updated', // string | boolean
  }
}
2
3
4
5
6
请注意,themeConfig.lastUpdated 默认是关闭的,如果给定一个字符串,它将会作为前缀显示(默认值是:Last Updated)。
# 上 / 下一篇链接
上一篇和下一篇文章的链接将会自动地根据当前页面的侧边栏的顺序来获取。
你可以通过 themeConfig.nextLinks 和 themeConfig.prevLinks 来全局禁用它们:
// .vuepress/config.js
module.exports = {
  themeConfig: {
    // 默认值是 true 。设置为 false 来禁用所有页面的 下一篇 链接
    nextLinks: false,
    // 默认值是 true 。设置为 false 来禁用所有页面的 上一篇 链接
    prevLinks: false
  }
}
2
3
4
5
6
7
8
9
你也可以使用 YAML front matter 来明确地重写或者禁用它们:
---
prev: ./some-other-page
next: false
---
2
3
4
# 安装主题
# 安装
yarn add @vuepress/theme-blog -D
# OR npm install @vuepress/theme-blog -D
2
# 使用
// .vuepress/config.js
module.exports = {
  theme: '@vuepress/blog',
  themeConfig: {
    // 请参考文档来查看所有可用的选项。
  }
}
2
3
4
5
6
7
# 如何正确解决VuePress本地访问出现资源报错404的问题
VuePress 遵循 “约定优于配置” 的原则,按照官网设置目录结构
在md中加入静态图片的问题,在md文件中可以使用下面的方式应用静态图片,下面imgs文件夹在public文件件下 目录如下
文件地址: docs/.vuepress/public/images/hero.png
md文档中:

2
3
4
5
# VuePress 密码加密文章
https://www.imaegoo.com/2020/vuepress-encrypt/
# 开始使用
在 VuePress 的项目中安装这个插件
yarn add -D @oak-tree-house/vuepress-plugin-encrypt1修改配置文件启用插件
.vuepress/config.js
module.exports = {
  plugins: [
    ['@oak-tree-house/encrypt']
  ]
}
1
2
3
4
5
6修改package.json增加加解密的命令
package.json
{
  "scripts": {
    "decrypt": "encrypt decrypt --source-dir <YOUR_SOURCE_DIR> --key-file keys.json --temp .temp-encrypt",
    "encrypt": "encrypt encrypt --source-dir <YOUR_SOURCE_DIR> --key-file keys.json --temp .temp-encrypt"
  }
}
1
2
3
4
5
6
7此处基于官方 doc 有改动,命令参数 encrypt 和 decrypt 需要放在最前,否则会遇到错误 error: unknown option '--source-dir'
把临时目录添加到.gitignore列表
.gitignore

/keys.json
/.temp-encrypt
1
2
3
4* 如果你的是安全的私有 Git 仓库,想一起提交密码文件,可以不 ignore
/keys.json1新建密码文件keys.json
keys.json

{
  "user": "imaegoo",
  "keys": {
    "key": "mypassword"
  }
}
1
2
3
4
5
6
7
8尝试写一段需要加密的内容
## test
::: encrypt key=key owners=imaegoo
my password is helloworld
:::
1
2
3
4运行
yarn encrypt1你将会发现上一步的内容被自动替换成密文
## test
::: encrypt encrypted key=key owners=imaegoo
ZpDkUuyB2+O7/Ga9InossDwIYJVn3I6VbdlNLxiJaU/gCDxnC1kQcgbzC9RqVCZ3ru6fpf3B5wnjKKS
R1/miaLoxP4WrCnlYTiL0AeAeLPW0bN+3KqBg2n+fTCqubEFfRZnbKUGvsuZai0vRSW4OYmirew**
:::
1
2
3
4
5大功告成,运行 VuePress 开发模式,测试一下吧!
报错:
Error: Parser rule not found: container_encrypt1
# vuepress主题(vuepress-theme-note)
https://jackray-c.github.io/vuepress-theme-note/install/
# 安装 note 主题
使用 yarn 安装 note 主题
yarn add  -D vuepress-theme-note
或者使用 npm 安装
npm install -D vuepress-theme-note
2
3
4
# 使用
打开.vuepress目录下 config.js 文件,在配置中添加theme的配置项。
module.exports = {
  ...
  theme: 'vuepress-theme-note'
  ...
}
2
3
4
5